AI Image Enhancer
Refine lighting, color and clarity in a reference photo. Guide the edit with a prompt and compare the regenerated result with the original.
Results
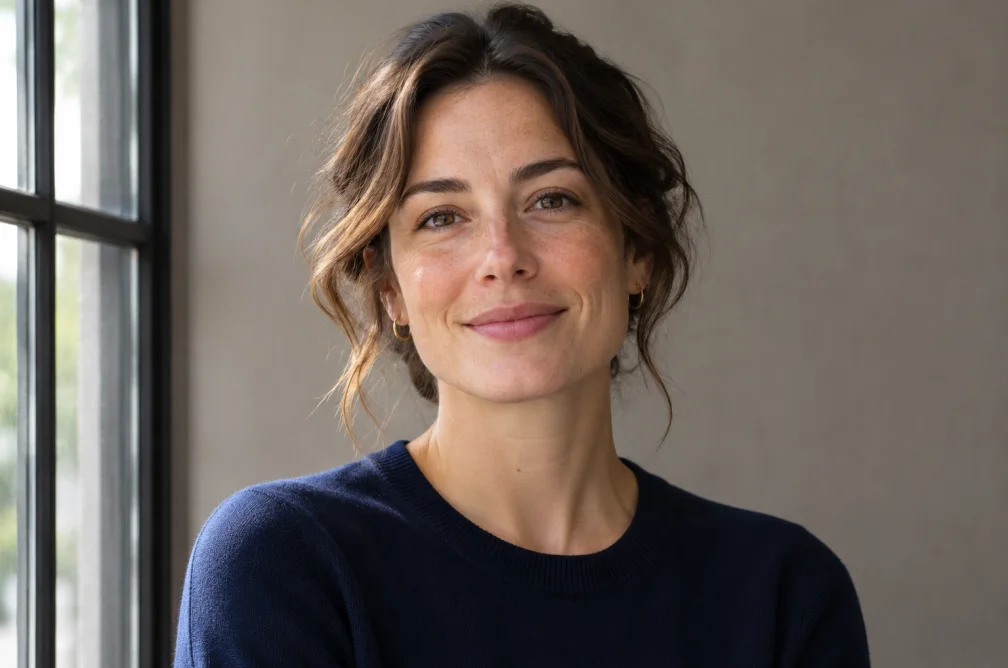 Example
Your result will appear here.
See examplesDescribe what needs to look clearer
Specify an edit such as lifting shadows or balancing color. Keep the instructions narrow if you want the same composition. Compare small text and brand colors before exporting.
When this helps
An underexposed portrait may only need more detail on one side of the face. Keep the source palette and composition in your instructions.
Examples
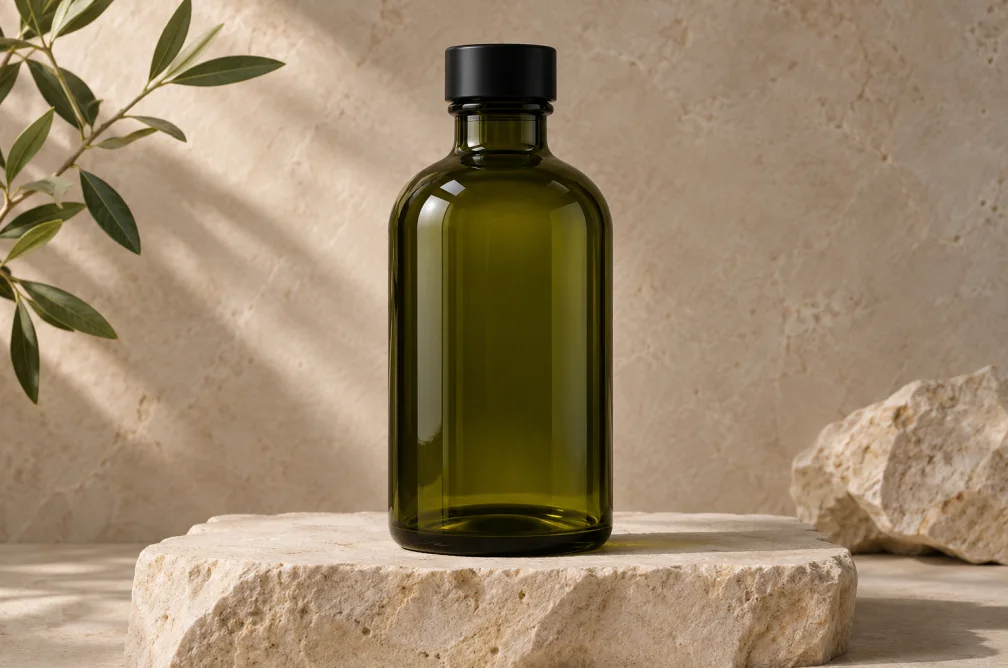
Example
Lift detail in the dark side of the portrait and keep the skin tone and background colors natural.
How to use it
- Identify the issue in the original file.
- Ask for a specific lighting or color adjustment.
- Compare shadows, highlights and skin tones before exporting.
Settings & limits
- Source photo
- JPG, PNG or WebP, up to 10 MB
- Adjustment
- Describe lighting, color or clarity
- Output
- One edited image
Questions about AI Image Enhancer
Can I ask for brightness alone?
Yes, describe the area to brighten and specify which colors and shadows should stay. Check the whole image for changes afterward.
Will the enhancement change skin tones?
The model can interpret color differently. Ask for natural skin tones and compare the original to the new version in neutral light.
What is the difference between enhancement and sharpening?
Enhancement covers broader lighting and color adjustments. Sharpening is useful when only a texture or edge needs more definition.
When should I use Image Enhancer instead of Image Upscaler?
Use Image Enhancer when the photo mainly needs better lighting or color. Choose Image Upscaler when you need a larger delivery size. Compare skin tones and highlights before accepting an enhancement.