AI Image Sharpener
Improve perceived sharpness in a reference image by guiding edges, texture and fine detail in the generated result.
Results
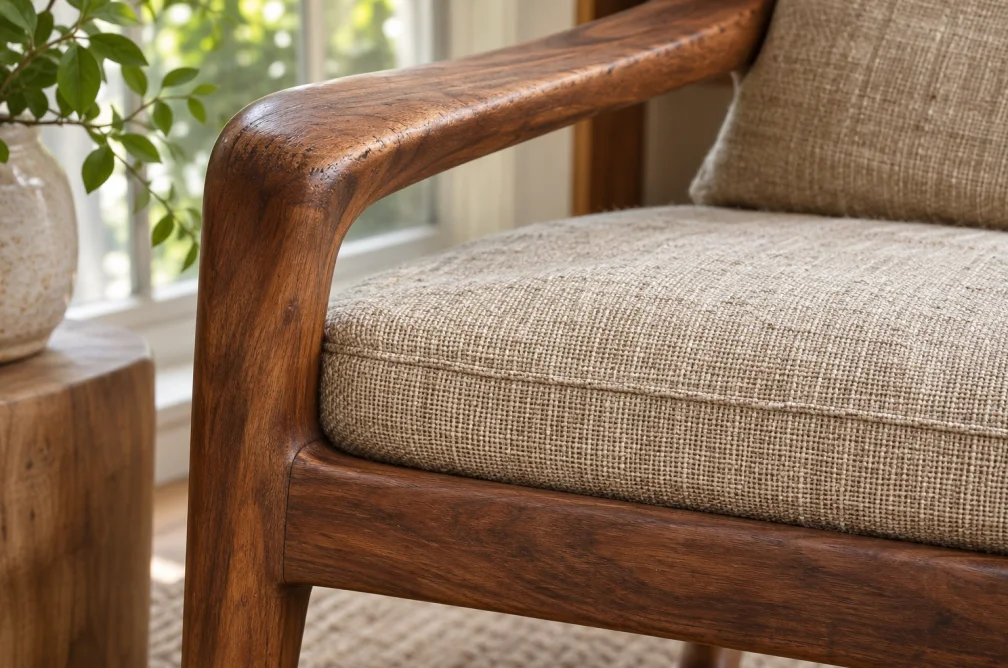 Example
Your result will appear here.
See examplesSharpen the detail that matters
Name the specific detail to look crisper. Check smooth areas for halos and compare edges with the reference. A narrow instruction helps keep the rest of the image consistent.
When this helps
A furniture listing may only need clearer stitching and wood grain. Check flat areas after the edit for grain or halos.
Examples
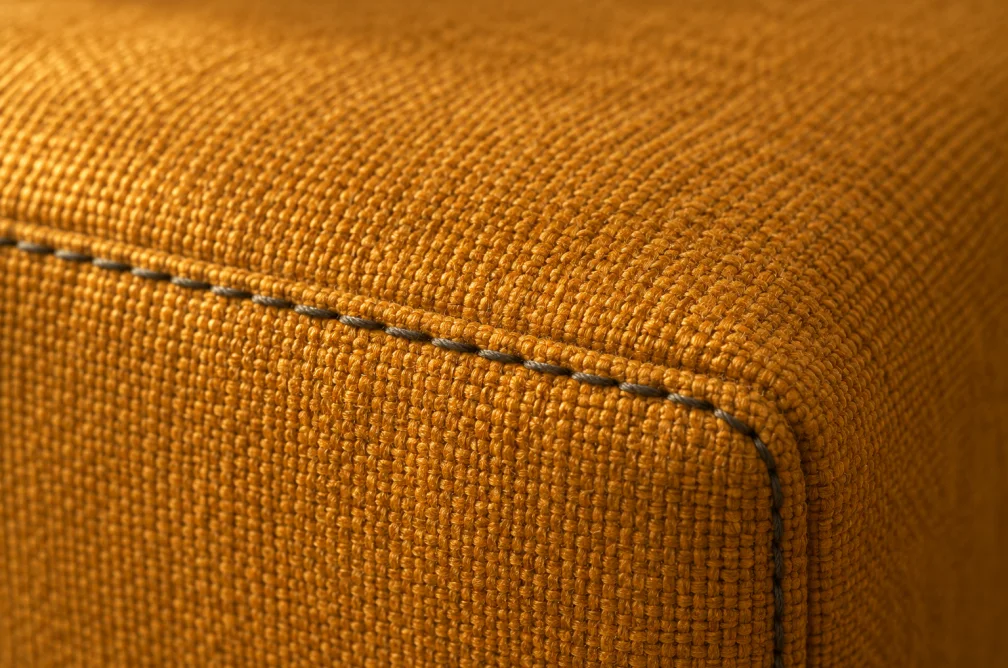
Example
Sharpen the grain of the wooden chair and the stitching in the cushion while keeping the background soft.
How to use it
- Pick the detail that needs more definition.
- Ask for local texture and describe areas that should stay soft.
- Zoom into the edge and inspect adjacent smooth areas.
Settings & limits
- Source photo
- JPG, PNG or WebP, up to 10 MB
- Adjust with
- Prompted edge and texture detail
- Output
- One edited image
Questions about AI Image Sharpener
Can I focus the adjustment on one texture?
Yes. Point to the stitching, grain or other detail. The model may still alter surrounding areas, so check the full frame.
How do I keep skin or sky smooth?
Name those surfaces as areas to preserve and ask for sharpening on the intended subject detail.
When should I use Image Unblur?
Use Image Unblur for a visibly soft source. Use Image Sharpener when detail is already visible but needs a clearer edge.
What does oversharpening look like?
Look for a bright outline around edges and roughness in smooth areas such as skin or sky. In a second pass, name the detail to sharpen and leave the smooth background out of the request.